Sunday, September 30, 2012

Omelets and Frittatas - September 30, 2012

We get a dozen local farm eggs every other week in our farm box, but our friends Lynn and Kim who live in Nashville only have to walk in their back yard for eggs because they have four yard birds!  When they came to visit, they brought us a dozen beautifully colored eggs which we fried and poached for breakfast.  And they were delicious.  It got me thinking about the fact that those with chickens do have to think about using them up or finding ways to share or sell.  But, for me, eggs cooked as omelets and frittatas are also a great way to clean out the fridge.  You don't need a great amount of any one thing to make a great omelette, so it is a great solution when there are lots of little left overs in your fridge but not enough of anything to make a meal.


As you can see from my bowl, I had the last of the garden cherry tomatoes, a red pepper, a jar of olives, a small piece of cheese, some pepperoni, and some wilting parsley.  There was also a small bit of salsa and sour cream.  So, I started by sauteing everything except the salsa, cheese and sour cream in a small skillet with olive oil.  Once the juices were cooked out and everything started to brown, I cracked two eggs over it and as the eggs cooked, lifted the sides so the uncooked egg could continue to run to the bottom and cook.   


Once the omelet was mostly cooked, I crumbled the cheese on top and flipped the omelet over to hold the cheese.  This would all have been much prettier if I was willing to make a three egg omelet so it would fill the pan and make a perfect half circle.  I topped my omelet with the sour cream and salsa.  It wasn't the prettiest, but it tasted great.


Frittatas can also be used the same way to clean out your fridge.  These call for around 6 eggs with milk in a pan that can then be placed in a hot oven to cook through (see frittata recipe on my garlic blog).


Friday, September 21, 2012

Basil Basics – September 21, 2012


I grow basil every year and I especially like to grow the purple kind.  It doesn’t taste any different, but it is really pretty on pizza, tarts and salads.  My favorite is orange salad,but we often make Caprese salad as well when we have lots of tomatoes.  Here are both simple, fresh recipes:

Caprese Salad

Sliced fresh tomatoes
Sliced fresh mozzarella
Basil leaves
Extra Virgin Olive Oil

Layer the first three ingredients.  Drizzle olive oil on top with a little salt and enjoy.


Orange and Basil Salad

Navel oranges separated in sections
Fresh basil leaves (looks great with purple basil)
Red onion or radish rings

Dressing #1 -
Olive Oil
Pinch sugar
Salt and pepper

Dressing #2 –
1 T. Balsamic Vinegar
1 T. Red Wine Vinegar
1 tsp. Lime Juice
1 T. Olive Oil
1 tsp. Sugar
1 tsp. Red Pepper Flakes
Salt and Pepper

Mix and enjoy!

The great thing about basil is that the more you use it, the more it produces, so even if you aren’t using it, pinch off the flowers as they develop so new leaves start.  Most years, I cut back at least one plant and bring it in for the winter before replanting in the Spring, but basil is easy to find as small plants in the Farmer’s Market and can be grown from seed if you start early enough.

I also store basil by pulling off the leaves and keeping them in a zip lock bag in my freezer during the winter.  If you prefer, you can make pesto and pour into ice cube trays.  Then, just pop these cubes into a zip lock bag and defrost as you need for recipes.

My friend Becki Winchel also has a great use for basil I had never heard of before.  You steep the leaves in boiling water like a tea.  Then, when cooled, put in a spray bottle and spray around your kitchen for a safe way to keep fruit flies from gathering.  I have to try this because we are eat up with fruit flies this year!!!!

Saturday, September 15, 2012

Growing and Harvesting Mushrooms – September 15, 2012


John and I are members of the Billy Goat Hill Garden here in Louisville.  In addition to our bed with tomatoes, okra and cucumbers, I volunteered to help with the community garden mushroom garden.  Limbwalker Tree Service donated several large sections of hardwood for our cause that we stacked in a cool tree-covered area.  You simply buy plugs of shiitake mushroom spores.  They look like large pills.  You drill into the hardwood and insert a plug in each hole (we did 100) and then you coat the top of each hole with heated food grade wax (I saved some from a cheese purchase and heated with our little propane torch used to warm the top of cream brulee) to keep bugs out.  Then comes the hard part – you wait a year for the shiitakes to grow. 


I have an advantage though in that a group of boy scouts planted mushrooms 4-5 years ago and although we thought they were dead, (each log will stop producing mushrooms in about 5 years as the log completely dies and provides no nutrition for the mushroom spores) mushrooms appeared everywhere after the big rain following Labor Day.


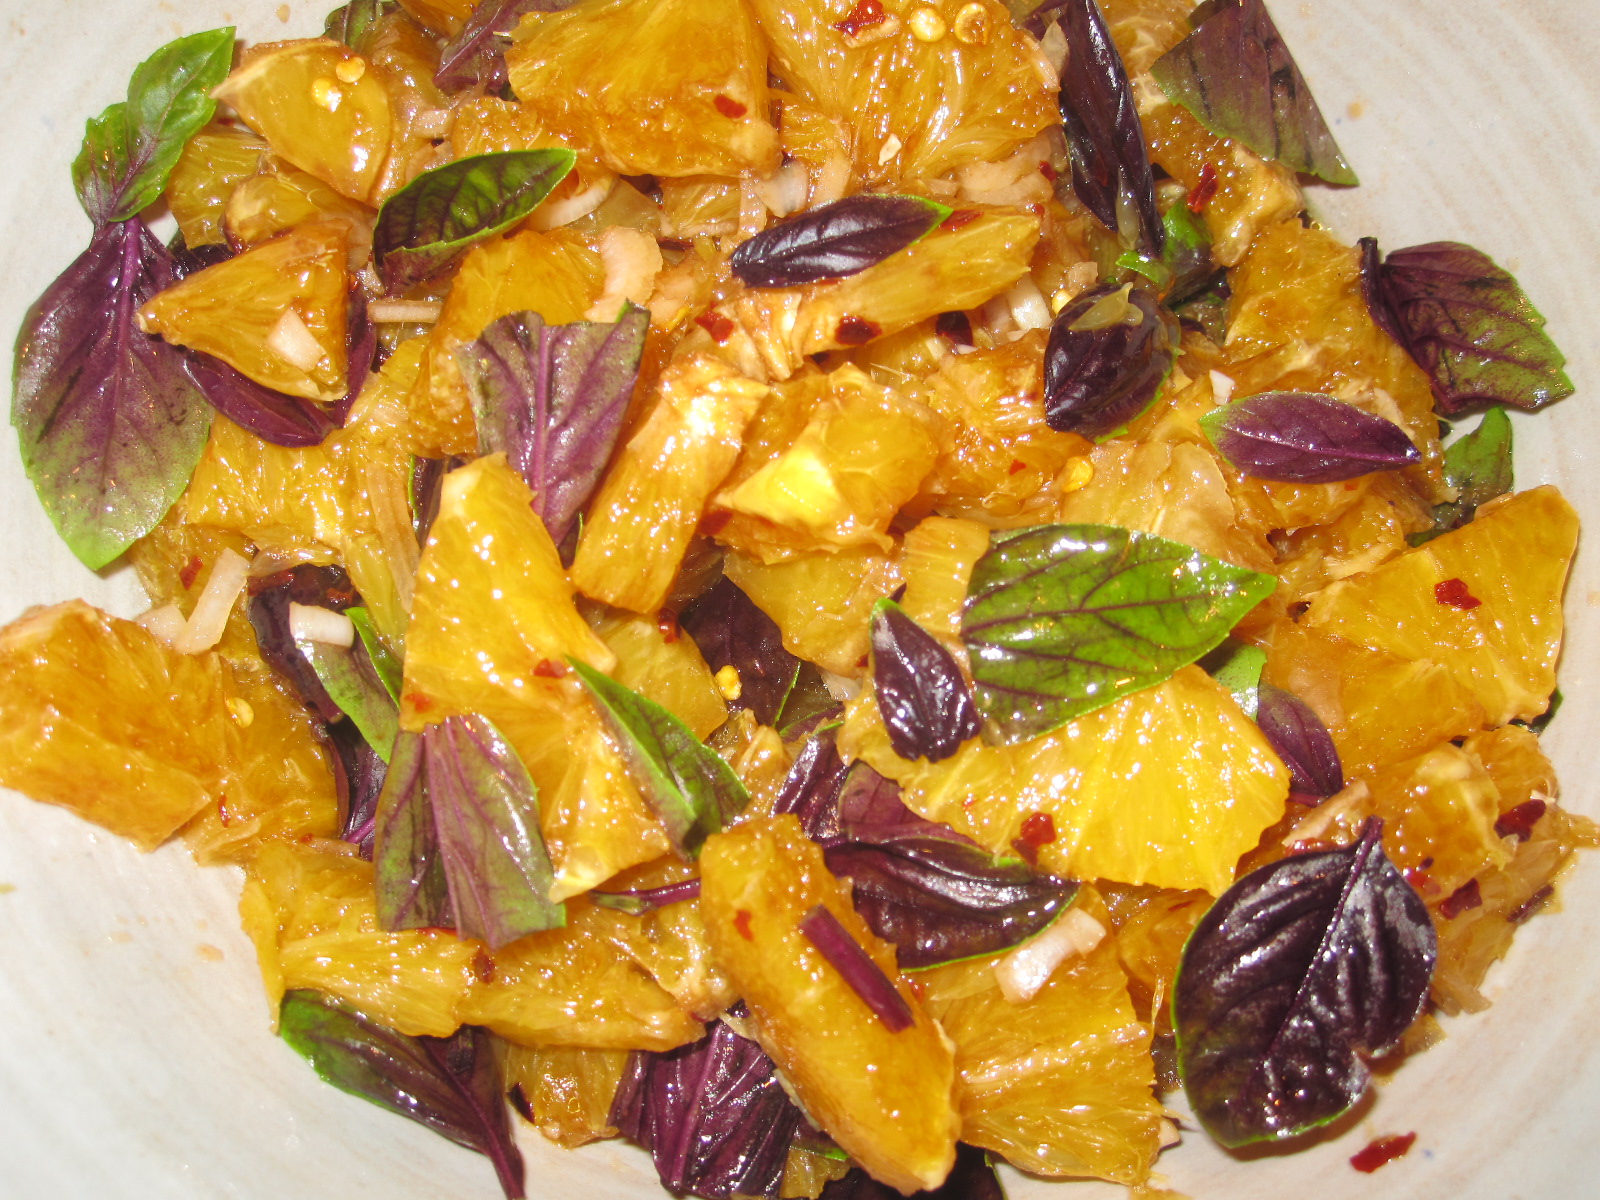
I used my mushroom harvest in a new recipe for winter squash.  I have been interested in learning more about Moroccan cooking and these are two recipes that used local harvest and were delicious to boot:


Moroccan winter squash

1 T. butter
1 T. olive oil
1 diced onion
4 minced cloves garlic
2 tsp. ground cumin
1 cinnamon stick
Salt and pepper to taste
1 pound butternut squash, large dice
3/4 pound red potatoes, large dice (or do with all squash and no potatoes)
2 cups broth
2 cups caned chickpeas, drained
1 (14-ounce) can diced tomatoes, with juices
Several Shiitakes in large slices
Pinch saffron threads

Heat butter and olive oil in a heavy-bottomed saucepan over medium heat.  Add onion, garlic, cumin, and cinnamon, and season with salt and freshly ground black pepper. Cook, stirring occasionally, 5 minutes.  Add squash and potatoes, season with salt and freshly ground black pepper, stir to coat, and cook until just tender, about 3 minutes.  Add broth, chickpeas, tomatoes and their juices, mushrooms and saffron.  Bring mixture to a boil then reduce to low. Cover and simmer until squash is fork tender, about 10 minutes.

Remove from heat and if you choose, stir in preserved lemon and olives. Serve over couscous garnished with cilantro, almonds, and yogurt.


Moroccan Eggplant with Garbanzo Beans

1 onion, sliced thin
5 cloves garlic, minced
1 T. olive oil (or can use broth)
1 red bell pepper cut in small pieces
1 eggplant cut in 1 inch pieces
Pinch of red pepper flakes
2 tsp. turmeric
1/2 tsp. garam masala
1 tsp. cumin
1 tsp. paprika
1 15 oz. can garbanzo beans, drained
1 1/2 c. lentils, soaked and drained
1 large tomato, chopped with juices reserved
1 1/4 c. broth
1/2 c. raisins
Salt and black pepper to taste
Can garnish with chopped parsley or cilantro

Heat oil in heavy bottomed pan on medium.  Sauté onions for 5 minutes.  Add garlic, bell pepper, eggplant and spices and mix together for one minute.  Add broth and tomatoes and stir, cover and cook 10 minutes.  Add beans and lentils and cook another 5 minutes.  Add raisins and cook final 5 minutes or until consistency is correct.  Season with salt and pepper and garnish with fresh herbs.

This meal is very healthy with high concentrations of molybdenum, vitamin C, manganese and fiber.  You can serve as a side or it makes a great vegetarian meal with bread.

One thing I learned about mushrooms through our harvesting is that they are very susceptible to water content.  When I first picked them, they were very dry and I was afraid not good for cooking.  The second harvest was right after a rain and they were too wet.  I found the best way to deal with this was to store them in the refrigerator in a plastic bag wrapped in paper towels.  A dry paper towel helped soak up the extra water with the wet mushrooms and a wet towel helped the dry mushrooms come back to life. However, if you want to store the mushrooms for longer than a week, drying them is a great method.  You can use a food dehydrator or allow to dry in the oven at low.  Keep these in a cool, dark place until you are ready to use in recipes.  They are great in soups and stir frys.

Sunday, September 9, 2012

Beets Just Can’t be Beat – September 9, 2012

My motto about gardening is that the real purpose is always to grow tomatoes.  This still holds true, but there are a few other things that are really worth a gardening investment because they are better if you grow your own.  One of these is beets.  

I know many people think they do not like beets because they tried and disliked pickled beets or could never get past the red dye they make.  But cooking beets makes them sweet like carrots and you can plant varieties that are not red (we grew Chioggia this year which has a bulls-eye appearance when cut in half and you can also get yellow, pink and white) to avoid the dye.  I especially like beets tossed into stir fry but use the non-red ones then to avoid a dinner that looks like a murder scene.   


Our garden tends to be too rich in nitrogen which is not good for beet growth, but it makes great beet greens.  And this is why I think growing your own beets it worth the effort.  We pick the greens from our beets all summer to add to salads like lettuces or to make wilted salads with bacon like dandelion greens.  


Sautéd Baby Beet Greens

1 sliced garlic clove
1 tsp. olive oil
8 cups fresh beet greens
salt and pepper

Sauté garlic in large skillet on high for 30 seconds.  Add beet greens and sauté 2-3 minutes until wilted.  Season with salt and pepper.

With red beets, I love nothing better than to just bake them and eat with a little salt and/or goat cheese.  You can also add a simple vinaigrette and eat while warm or cold.


Baked Beets

Fresh beet roots
Salt

Preheat oven to 350 degrees.  Wrap eat beet root in foil to cover and bake in oven until a fork can pierce easily (about an hour).  Remove beet roots from wrap and remove the peel (this will dye your fingers briefly in case you want to use gloves - I should also warn those who have never eaten lots of beets that you’ll see the dye later in the bathroom, so don’t worry).  Chop or slice, sprinkle with salt and enjoy!
Once you’ve enjoyed the sweet taste of fresh beets, try adding goat cheese while they are still warm and/or your favorite vinaigrette, a bit of orange or lemon juice and/or fresh sweet onions.  

Finally, you can always go the traditionally route of pickling beets.  We did put up one jar this year but instead of the traditional pickled beet recipe, we used a sour pickling recipe from Southern Living and pickled everything from okra, to beets, to carrots and even whole baby squash.  It’s a simple way to put up a little of several things from your garden and you can keep extra brine in your fridge to use as you harvest and pickle over a week or so.


Pickled Veggies (great for a Bloody Mary Bar)

4 ½ lbs. veggies, washed
8 c. apple cider vinegar
1 c. water
½ c. salt
1 clove garlic per pint jar
1 small red hot pepper per pint jar
1 tsp. dill seeds per pint jar
1 tsp. mustard seeds per pint jar

Bring vinegar,water and salt to boil.  Meanwhile, pack vegetables into jars (some facing up and some down) and add garlic, pepper and seeds to each jar.  Pour brine to fill each jar to ½ inch from top and seal.  Boil okra 10 minutes in jars and other vegetables 15 minutes.


Monday, September 3, 2012

Raisin Bran Muffins - September 3, 2012


I cannot tell the difference from one raisin bran cereal to another, but my husband is a connoisseur and will only eat the Kellogg's brand.  Maybe now that I have written this blog, I will remember that, but I have had difficulty in the past often buying the Post brand which sits in our cabinet going uneaten.  This time, I had just run out of muffins that I usually freeze and pull out for breakfast each morning, so I thought I could kill two birds with one stone.  I made a simple but healthy muffin that was great for breakfast.  I did add extra raisins to mine because one of John's complaints about the Post brand is too few raisins.  If I'd had dried apricots, I think they would have been even better.


Healthy Raisin Bran Muffins

1/4 c. vegetable oil

1 1/2 c. raisin bran cereal
3/4 c. milk
1/2 c. whole-wheat flour
1/2 c. all purpose flour
2 tsp. baking powder
1/2 tsp. ground cinnamon
1/4 tsp. salt
1 egg, beaten
1/4 c. packed brown sugar
1/4 c. raisins or other dried fruit

Preheat oven to 400 degrees.  Place 6-8 paper liners in muffin pan as needed.  In a medium bowl, combine cereal and milk, let stand until softened, about 5 minutes.  In a small bowl, whisk together flours, powder, cinnamon and salt.  Stir oil, egg and sugar into cereal mixture.  Fold in flour mixture.  Pour batter into prepared cups. Bake until toothpick inserted in center comes out clean, 20-25 minutes.  Cool 5 minutes and serve.  Store in fridge 5 days or freezer for months in a zip lock freezer bag.